
Why Glue-Assisted Nail Down Installation is Worth the Extra Investment
When it comes to installing hardwood floors, one question many homeowners and contractors ask is: Why spend extra money on glue when I’m already nailing down the planks? After all, the planks are being nailed into place, so they’re not going anywhere, right?
While it's true that nailing alone can secure hardwood planks, using glue assist during the installation adds extra stability and peace of mind—especially for wider planks. In this blog post, we'll explain why the glue-assisted nail down methodis a smart choice, particularly when dealing with wide planks, and explore the common glue-assist installation methods.
Why Choose Glue-Assisted Installation?
In today's homes, wide plank hardwood floors are incredibly popular, adding a sleek, timeless look to any room. However, wider boards can be more prone to gaps, movement, and squeaks over time, especially as they react to seasonal changes in temperature and humidity. This is where the glue assist method becomes invaluable.
Wide Planks and Their Potential Issues
Planks wider than 5 inches have a greater distance between the tongue and groove of each individual board. While the tongue-side of the board is held securely in place by nails, staples, or cleats, the groove-side is typically only held by the tongue of the adjacent plank. As moisture and temperature fluctuate, these wide planks expand and contract, causing fasteners to loosen and potentially create gaps between the planks. Over time, this movement can lead to creaky floorsand instability.
Using glue in addition to nails adds an extra layer of security. It helps prevent movement between the boards, reducing gaps and squeaks. With glue-assisted installation, you can be confident that your floor will remain stable for years to come.
What Are the Benefits of Glue-Assisted Installation?
The primary benefit of glue-assisted installation is added stability. By using adhesive, you ensure that the planks are securely fastened both to the subfloor and to each other. Here’s why this method is worth the investment:
-
Enhanced Stability for Wide Planks
Wide planks are prone to shifting, which can create gaps. Glue helps hold the planks in place and reduces the risk of movement. -
Reduced Creaking and Squeaks
Over time, the friction between the boards can cause them to squeak. Glue assists in reducing this movement, providing a quieter floor. -
Better Performance in High-Humidity Areas
In regions with large fluctuations in temperature and humidity, glue-assisted installations help the flooring resist warping or shrinking. The adhesive strengthens the bond, making it less likely that moisture will affect the floor's integrity. -
Prevents Loosening of Fasteners
As the wood expands and contracts due to seasonal changes, the glue helps keep the nails and staples in place, maintaining a strong bond between the boards and subfloor.
Common Glue-Assisted Installation Methods
There are various glue-assist methods to choose from, depending on your project and the manufacturer’s recommendations. It's crucial to always follow the manufacturer’s guidelines for the best results and to maintain your warranty. Here are the most common glue-assisted installation methods:
1. Serpentine or Sausage Glue Assist Method

This is a popular method for gluing and nailing wide plank flooring. It involves applying glue in a serpentine patternacross the subfloor or on the back of the planks. Here's how to do it:
- How to Apply: Use urethane or modified silane adhesives (or other recommended wood flooring adhesives). Apply a bead of glue approximately 1/8" or greater in a serpentine pattern with 10″-12″ spacing between peaks.
- When to Use: This method is particularly effective for wide planks, where the extra glue provides a more secure hold and helps to avoid gaps and movement.
- Tip: Always follow the manufacturer’s nailing schedule, and use the correct type of glue for the best results.
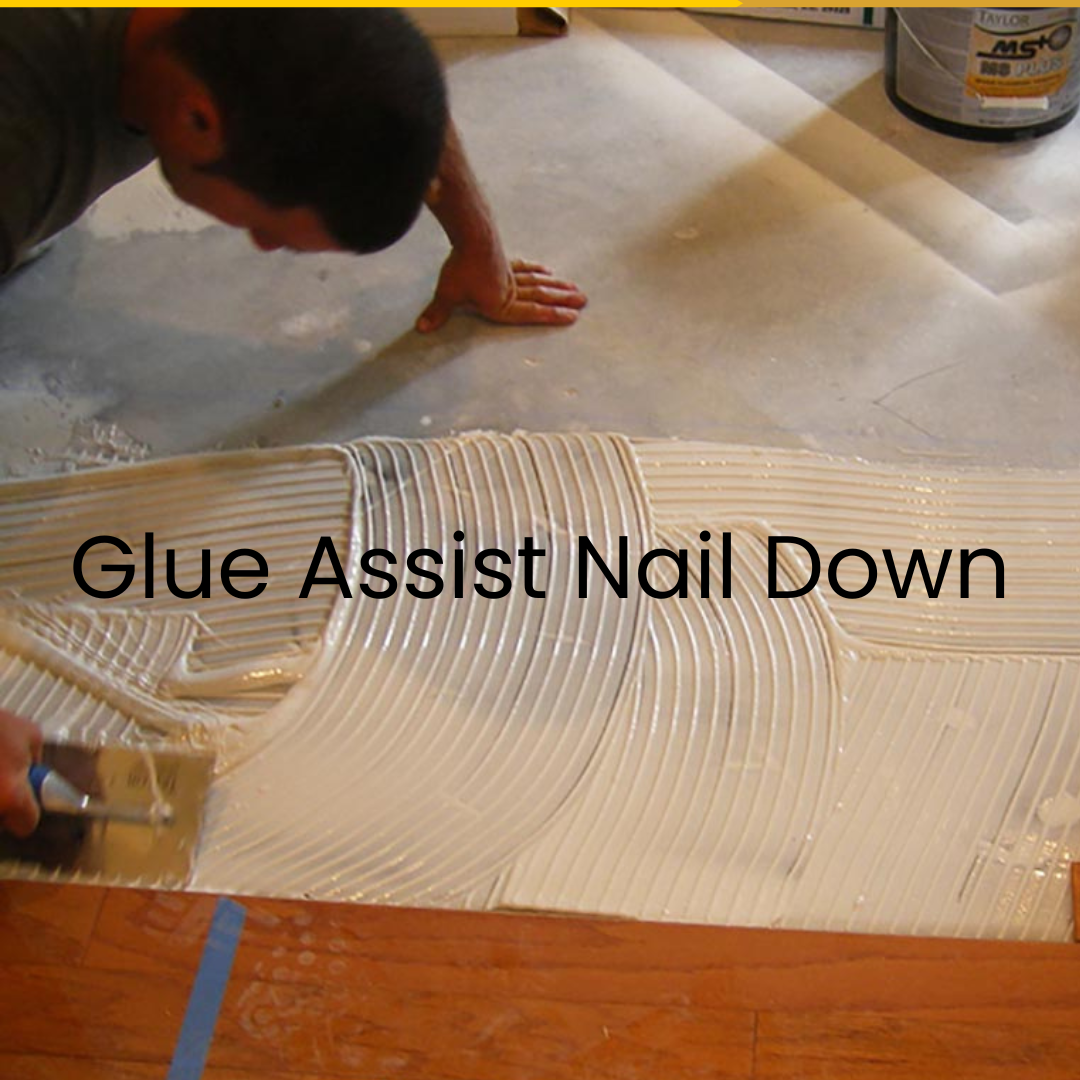
2. Perpendicular Trowel Lines Method

This method involves applying adhesive in straight lines across the subfloor, perpendicular to the direction of the planks.
- How to Apply: Use a trowel to spread the adhesive evenly across the subfloor. The glue lines should run perpendicular to the direction of the planks, leaving a 12″ gap between each section of adhesive.
- When to Use: This method is great for larger installations and works especially well for standard plank widths. The glue provides better adhesion, reducing the risk of squeaking over time.
- Tip: Make sure to follow the manufacturer’s recommended nailing schedule, and clean up any excess adhesive immediately.
3. Full Trowel Glue with Nail Down

For the ultimate squeak prevention, consider using the full trowel glue method. This involves applying glue over the entire subfloor, which ensures maximum adhesion and helps to stabilize the flooring in high-traffic areas.
- How to Apply: Use a trowel to spread glue across the entire subfloor in accordance with the adhesive manufacturer’s instructions. Apply the glue generously to create a solid layer of adhesive beneath each plank.
- When to Use: This method is especially useful when installing wide planks (over 5 inches), in regions with significant seasonal changes, or in environments with unconditioned spaces like basements.
- Tip: Full trowel glue helps ensure the best bond and prevents the planks from shifting or making noise, even in fluctuating humidity conditions.
Factors to Consider Before Using Glue-Assisted Installation
Before opting for glue-assisted installation, there are a few important factors to consider:
-
Subfloor Condition: Ensure your subfloor is clean, dry, and level. A poor subfloor can compromise the bond of the adhesive and lead to long-term issues.
-
Wood Type and Plank Size: Glue-assisted installation works best with wide planks (over 5 inches) or hardwood species that are prone to expansion and contraction.
-
Manufacturer Guidelines: Always follow the manufacturer’s recommendations for the adhesive and installation method. Using the wrong type of glue or installation method can void your warranty.
-
Environmental Conditions: Consider the humidity and temperature levels of your installation area. Homes in regions with drastic seasonal changes or fluctuating moisture levels may benefit more from glue-assisted methods.
At The Floor Hut: Your Source for Quality Adhesives
At The Floor Hut, we offer a variety of adhesives designed specifically for hardwood flooring installations. Whether you’re using the serpentine method, perpendicular trowel lines, or full trowel glue, we have the right adhesive for your needs. Visit us online or in-store to check out our installation supplies and speak to one of our experts for guidance on the best products for your project.
Conclusion
While glue-assisted installation methods may increase your material and installation costs, the benefits are well worth the investment. By adding an extra layer of security to your hardwood floors, you ensure that they remain stable, squeak-free, and durable for years to come. Whether you're dealing with wide planks or harsh environmental conditions, the glue assist method offers peace of mind that your flooring will withstand the test of time.
If you’re ready to tackle your hardwood installation, be sure to explore the best glue-assisted methods and speak with a flooring expert to ensure the best results for your home.
Need Help with Hardwood Installation?
Visit The Floor Hut today at 260 Sheldon Dr, Cambridge, or contact us at sales@thefloorhut.ca for more advice and product recommendations. We’re here to help make your hardwood flooring project a success!